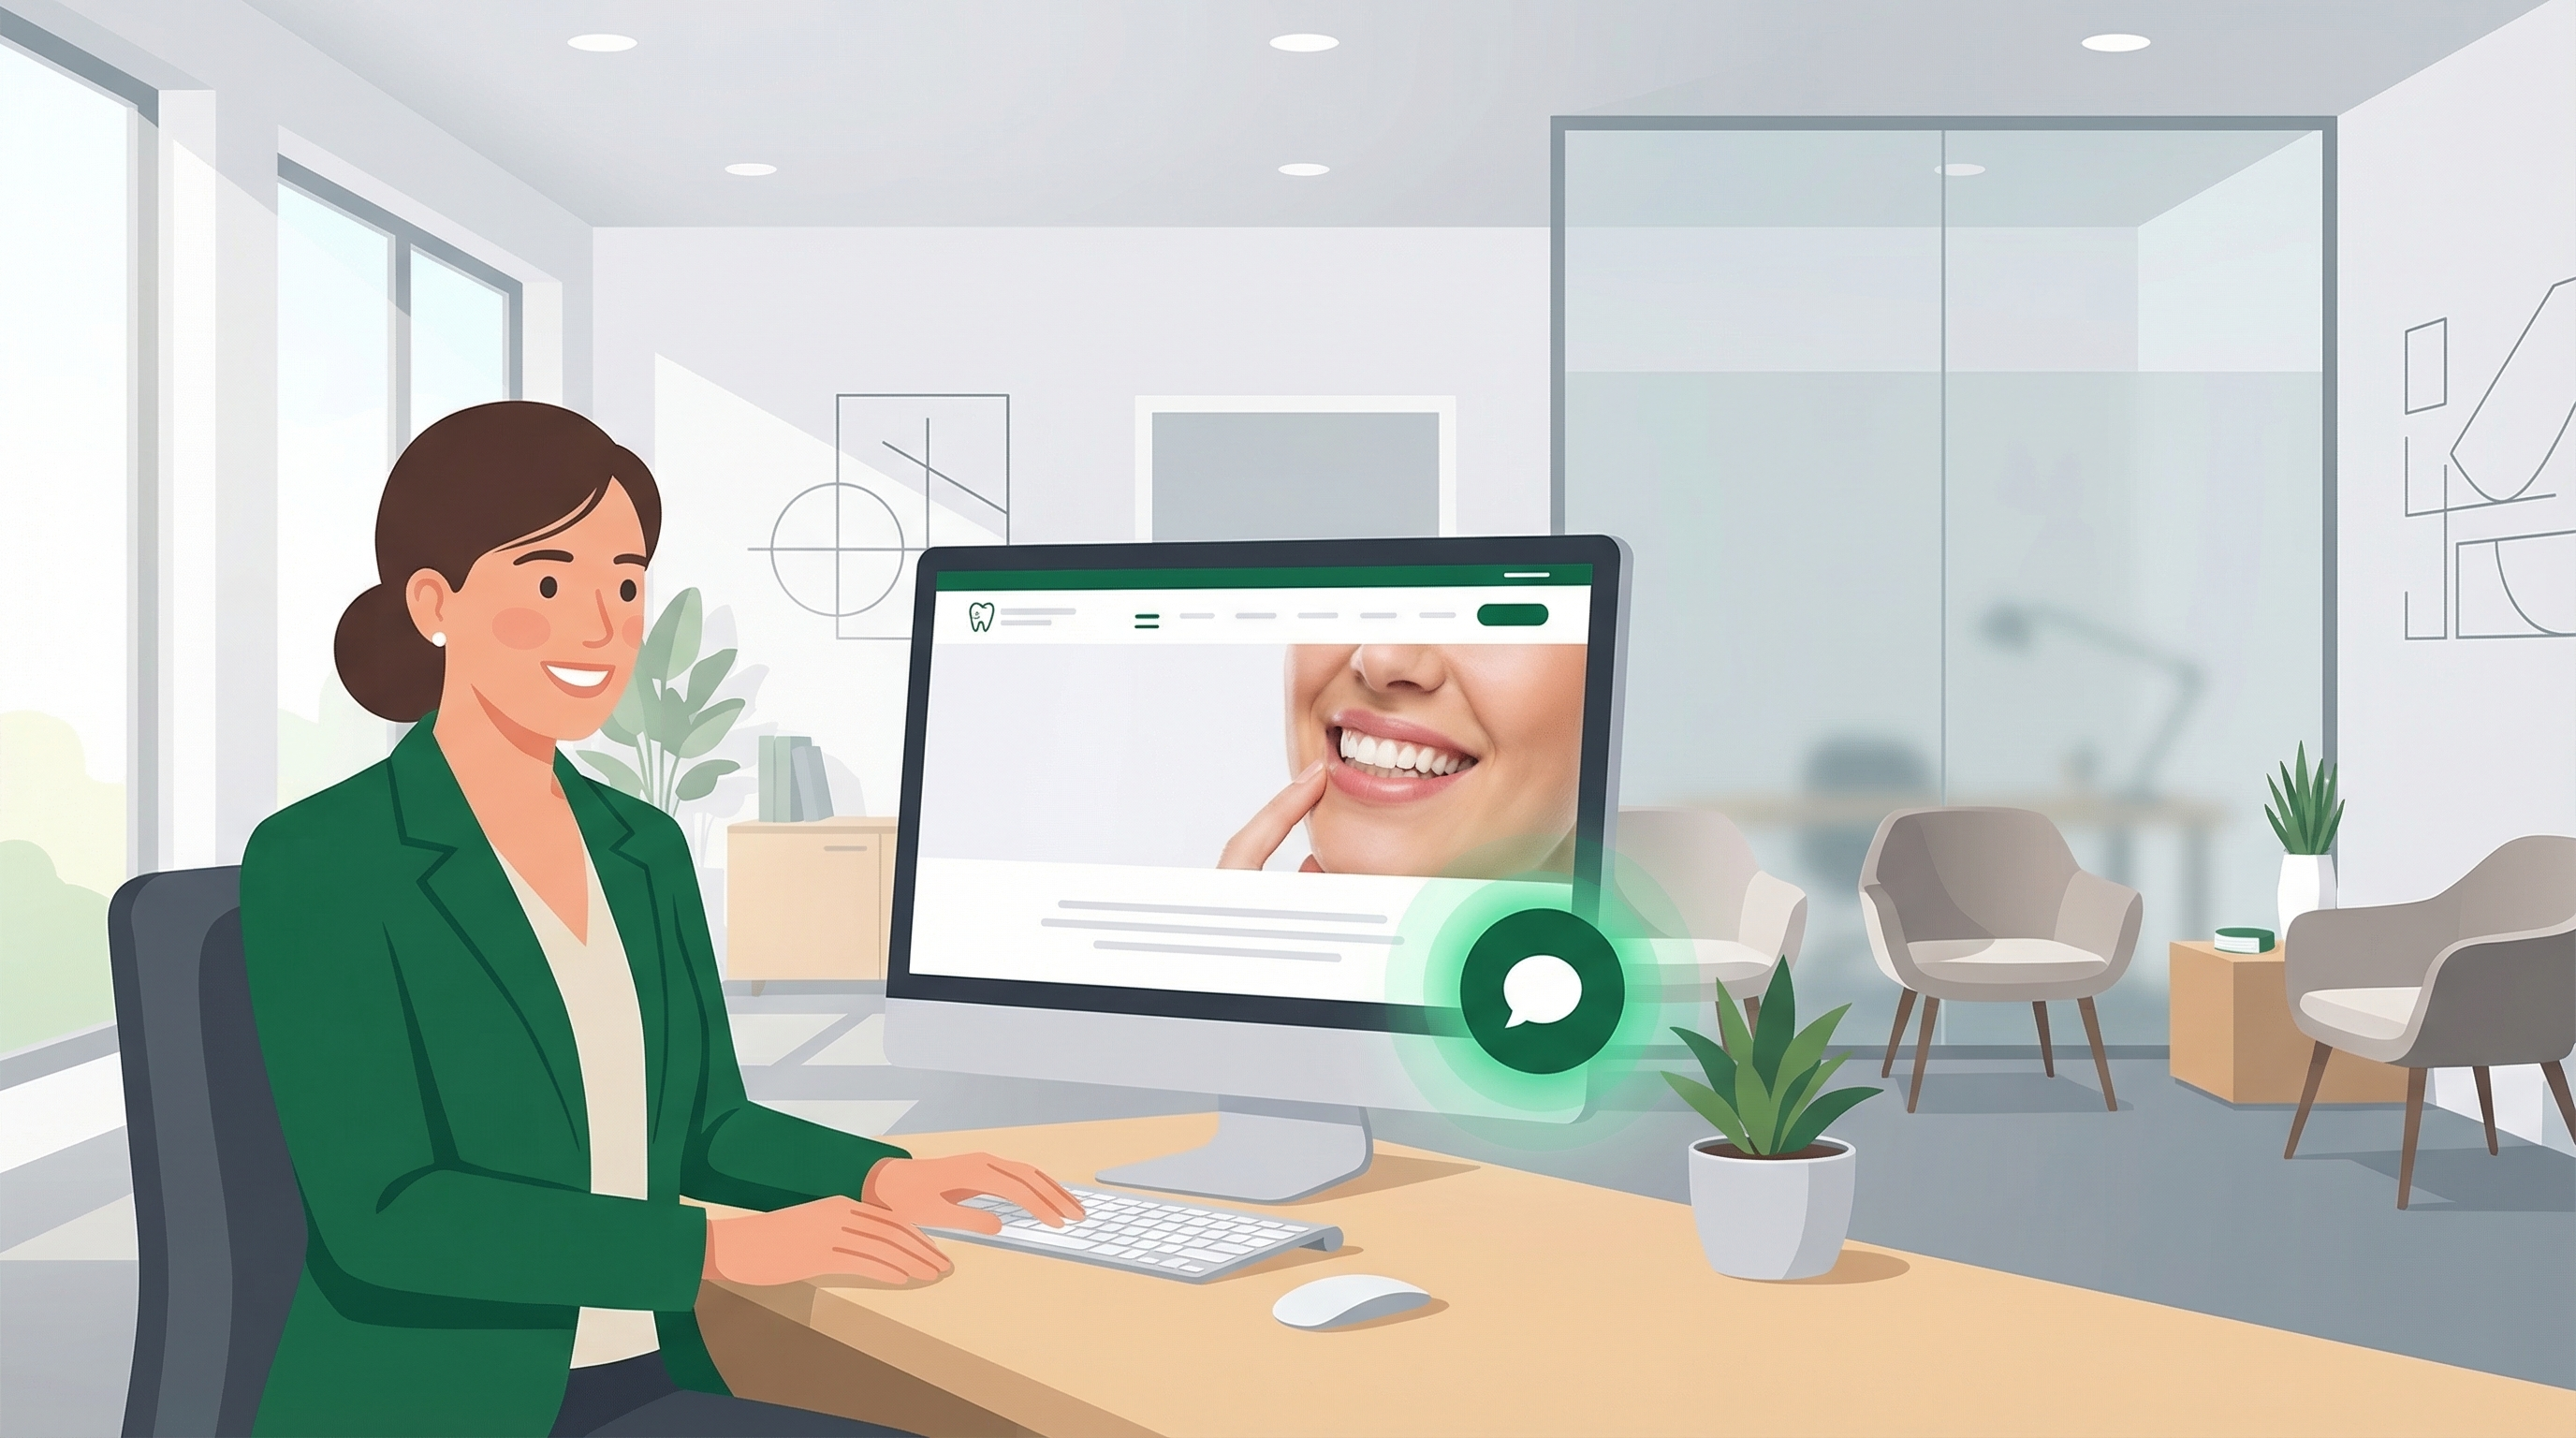
Most dental patients research practices online before they ever pick up the phone. They visit your website, read about your services, check your hours — and if they can’t get a quick answer or book right then, they leave. Not because they aren’t interested, but because there was no easy next step.
Adding an AI chatbot to your dental practice website captures that intent at the moment it’s highest. Patients can get answers and book appointments directly from your site, without having to call during business hours or wait for someone to call them back.
This guide walks you through three ways to add the GetHelpdesk.AI chatbot to your WordPress website — from the simplest option that takes under two minutes, to a more permanent setup that survives theme changes. Pick whichever method fits your comfort level.
Why Dental Practices Add a Chatbot to Their Website
Your website gets visitors who are ready to book — but most dental websites give them only two options: call during office hours, or fill out a contact form and wait. Both create friction, and friction loses patients.
A chatbot removes that barrier:
- After-hours conversions — a patient browsing at 9 PM isn’t going to call. If they can’t get an instant answer or book on the spot, they move on. A chatbot captures that visit.
- Faster decisions — patients often have one or two quick questions before committing (do you take my insurance? how long is a new patient appointment?). Getting those answered instantly removes the last hesitation before booking.
- Preference for chat — a growing segment of patients, especially younger ones, actively prefer typing over calling. A phone number alone isn’t enough anymore.
Once the widget is live on your site, it works around the clock without any additional effort from your front desk staff.
What You’ll Need
Before you start, make sure you have:
- Your GetHelpdesk.AI embed code. This was provided to you during onboarding. It looks something like this:
<!-- Markdown Parser (Load this first) -->
<script src="https://cdn.jsdelivr.net/npm/marked/marked.min.js"></script>
<script>
    window.GETHELPDESK_CONFIG = {
        serverUrl: 'wss://your-server-url',
        clientId: 'your_client_id_here',
        primaryColor: '#255129',
    };
</script>
<script src="https://your-widget-url/widget.js"></script>
If you don’t have your embed code, contact our team and we’ll send it over.
- WordPress admin access. You’ll need to be able to edit pages or access the theme settings.
Method 1: Using a Plugin (Recommended for Most Practices)
This is the easiest and safest method. It works with any theme, survives theme updates, and doesn’t require touching any code files.
Step 1: Install the WPCode Plugin
- Log in to your WordPress admin dashboard
- Go to Plugins → Add New
- Search for “WPCode” (by WPCode)
- Click Install Now, then Activate
WPCode is a free plugin used by over 2 million WordPress sites. It lets you add custom code snippets to your site’s header or footer without editing theme files.
Step 2: Add the Embed Code
- In your WordPress sidebar, go to Code Snippets → Header & Footer
- Find the Footer section
- Paste your entire GetHelpdesk.AI embed code into the Footer box
- Click Save Changes
That’s it. The chatbot widget will now appear on every page of your website.
Why the Footer?
Loading the widget in the footer means it loads after the rest of your page content. This keeps your site fast — the chatbot appears without slowing down anything else patients see first.
Method 2: Using a Custom HTML Block (Single Page Only)
If you only want the chatbot on a specific page — say, your contact page or appointment booking page — you can add it directly to that page using the WordPress block editor.
Step 1: Edit the Page
- Go to Pages in your WordPress dashboard
- Open the page where you want the chatbot
- Click Edit
Step 2: Add the Code Block
- Click the + button to add a new block
- Search for “Custom HTML”
- Add the Custom HTML block to the page (the bottom of the page works well)
- Paste your GetHelpdesk.AI embed code into the block
- Click Update to save the page
The chatbot will now appear on that specific page. Repeat for any other pages where you want it.
Note: For most dental practices, we recommend having the chatbot available site-wide (Method 1) so patients can ask questions from any page.
Method 3: Editing Your Theme Files (Advanced)
This method works without any plugins but requires accessing your theme’s PHP files. If you’re comfortable editing code — or your web developer is handling the setup — this is a clean, lightweight option.
Step 1: Open the Theme Editor
- In your WordPress dashboard, go to Appearance → Theme File Editor
- On the right side, find and click on footer.php (or Theme Footer)
Step 2: Add the Embed Code
- Find the closing
</body>tag in the file - Paste your GetHelpdesk.AI embed code just above that line
- Click Update File
Important Considerations
- Theme updates will overwrite this. If your theme updates, you’ll need to re-add the code. Using a child theme avoids this issue.
- Some themes don’t have a footer.php file. Block themes (like Twenty Twenty-Four) use a different structure. In that case, use Method 1 instead.
Verifying the Widget Is Working
After adding the code using any of the methods above:
- Open your website in a new browser tab (or an incognito window)
- Look for the chat icon in the bottom-right corner of the page
- Click it and send a test message
- Verify the chatbot responds with your practice’s information
If the widget doesn’t appear, try clearing your browser cache or waiting a few minutes for WordPress caching to update. Some caching plugins (like WP Super Cache or W3 Total Cache) may need their cache manually cleared.
Troubleshooting Common Issues
The widget doesn’t appear
- Check your embed code. Make sure the entire code block was pasted — including all three
<script>tags. - Clear your cache. If you’re using a caching plugin, clear the cache after adding the code.
- Check for JavaScript errors. Right-click on your page, click “Inspect,” go to the “Console” tab, and look for red error messages.
The widget appears but doesn’t connect
- Check your client ID. Make sure the
clientIdin your config matches exactly what was provided to you. - Check your internet connection. The widget needs to connect to our servers via WebSocket.
The widget styling conflicts with my theme
- This is rare, but some themes have aggressive CSS that can affect the widget’s appearance. Contact our support team and we’ll help resolve it.
What About Other Website Builders?
This guide covers WordPress specifically, but the GetHelpdesk.AI chatbot works on any dental website that supports custom HTML. If you’re using Wix, Squarespace, Webflow, or another platform, the same embed code works — you just need to find where that platform lets you add custom scripts.
We’ll be publishing guides for other platforms soon. In the meantime, our team is happy to help with setup on any platform.
Frequently Asked Questions
What’s the best chatbot for dental websites?
The best chatbot for a dental practice website is one that can handle dental-specific conversations — appointment booking, insurance questions, hours, and services — not just generic chat. GetHelpdesk.AI is built specifically for dental practices, which means it understands the context behind patient questions and connects directly to your scheduling system.
Does adding a chatbot slow down my WordPress site?
Not if the widget loads in the footer. Loading scripts in the footer means the main content of your page — text, images, navigation — loads first, and the chatbot appears after. This is why we recommend Method 1 (WPCode) with footer placement. The performance impact is negligible.
Can patients book appointments directly through the chatbot?
Yes. The GetHelpdesk.AI chatbot is connected to your scheduling system, so patients can check availability and book appointments directly in the chat — no phone call or form submission required. Bookings made through the chatbot sync with your practice management software.
Does the chatbot work after office hours?
Yes. The chatbot runs 24/7 regardless of when your office is open. Patients who visit your website on a Sunday night or after 5 PM can still get answers and book appointments without waiting until the next business day.
Next Steps
Once the widget is live on your site, you’re done on the technical side. The chatbot is already configured with your practice’s information, hours, services, and scheduling preferences.
If you want to customize the chatbot’s appearance or behavior — like changing the accent color or updating your practice hours — reach out to our team and we’ll handle it for you.
For practices that haven’t set up GetHelpdesk.AI yet, book a demo to see how it works for your practice.
Related Posts
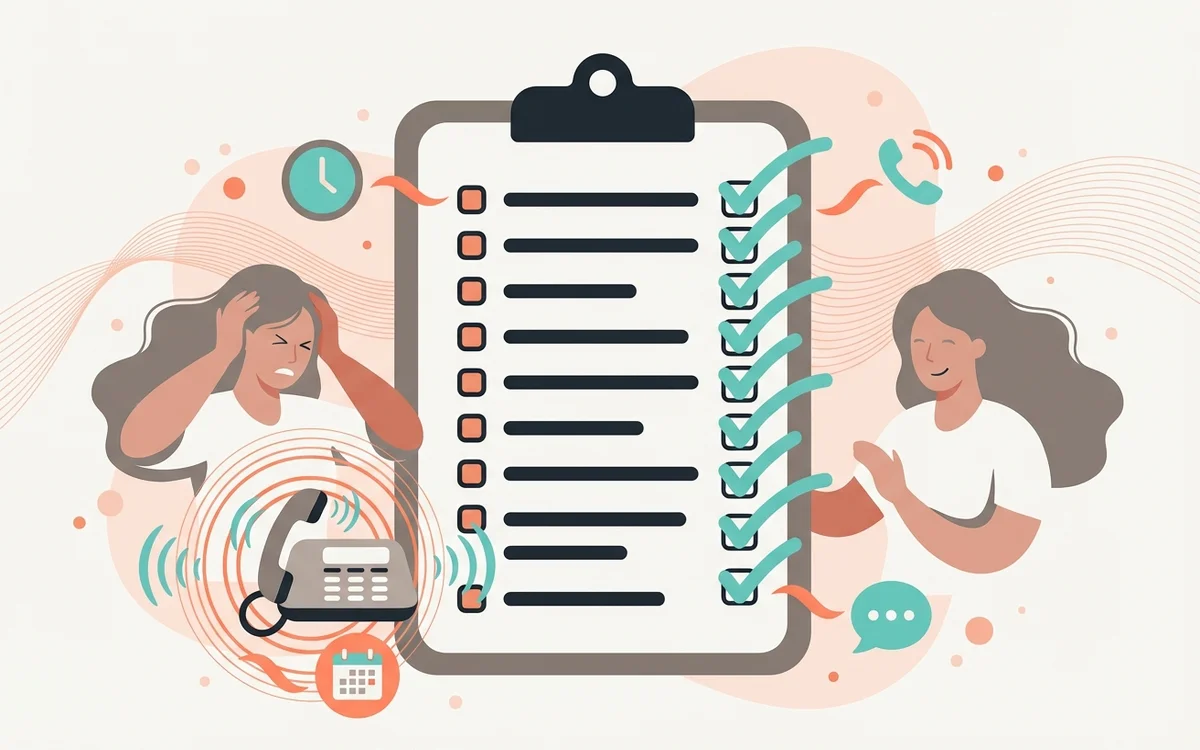
10 Signs Your Dental Practice Needs an AI Answering Service
Not sure if AI answering is right for your practice? These 10 signals — from missed calls to Monday morning voicemail backlogs — tell you the answer.
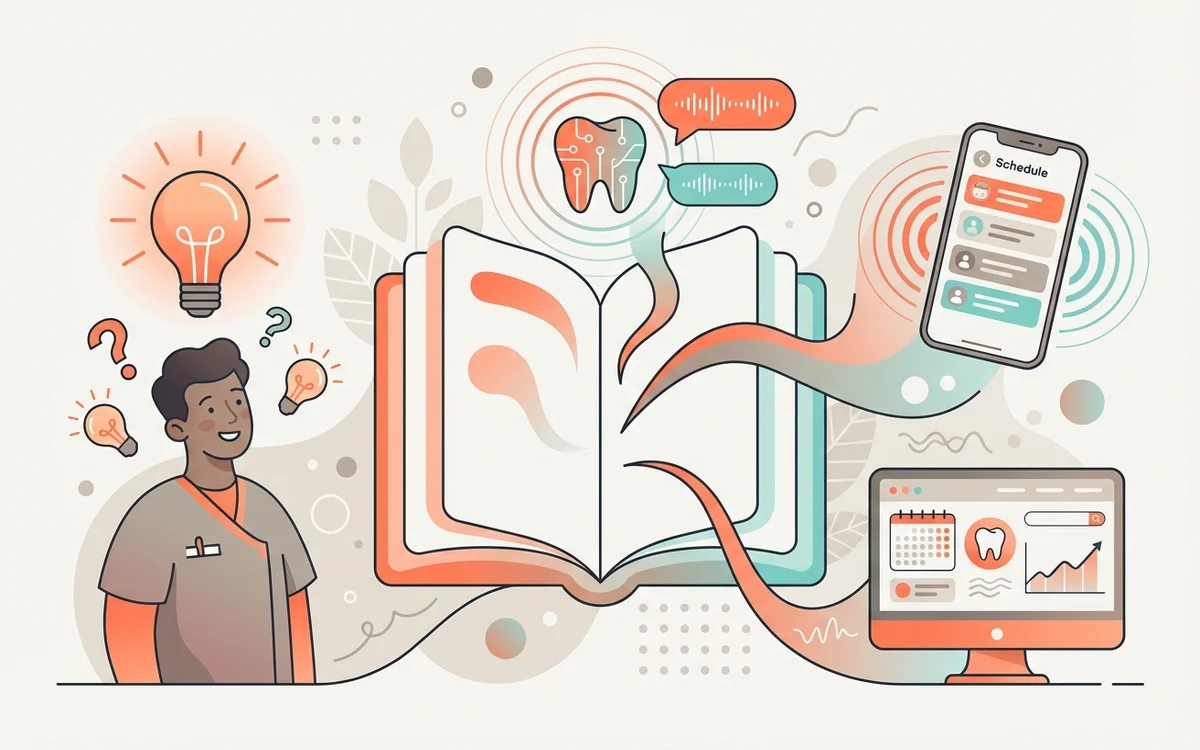
AI 101 for Dentists: A Plain-Language Guide to What It Is and What It Does
Artificial intelligence sounds complicated until you see what it actually does at a dental practice. This guide explains the concepts that matter — and skips the ones that don't.
AI Answering Service for Dental Practices: The Complete Guide
Everything dental practice owners need to know about AI answering services — how they work, what they cost, what to look for, and how they compare to traditional solutions.